A day hike goes wrong in small, boring ways. You start later than planned, the creek is running higher than it was in June, and the temperature drops ten degrees the moment the sun slips behind the ridge. None of that is a crisis — unless the extra layer is in the car and your headlamp is in a kitchen drawer.
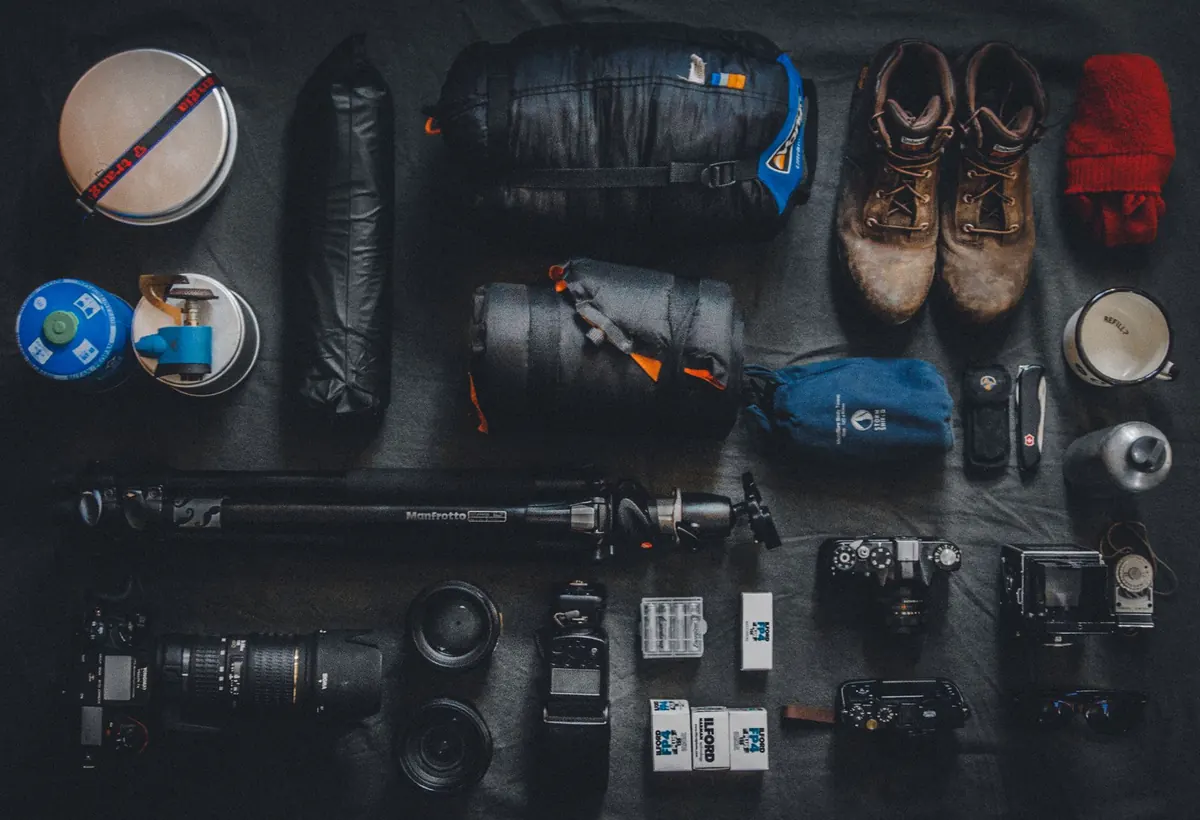
Most of what you carry on a day hike is insurance you hope never to use. The trick is keeping that insurance light enough that you don't resent the pack on the climb. Fifteen items, chosen well, will cover nearly every trail you'll walk between sunrise and sunset.
Pack these, then adjust for the season and the route.
Notice what isn't here: a stove, a sleeping bag, three changes of clothes. Day hiking rewards restraint — but that restraint should come out of the comfort items, not the safety ones.
A rough starting point is half a liter per hour of steady climbing in mild weather, closer to a liter per hour in heat, humidity, or at altitude. Treat that as a baseline, not a rule. If you sweat heavily, add more. Small, frequent sips beat gulping a liter at a viewpoint.
If your route passes reliable water, a filter or tablets let you carry less and refill. Confirm the source before you commit to it — a spring marked on an old map can be dry in August. Treat any surface water you drink.
Food matters more than most people plan for. A sandwich, nuts, dried fruit, something salty. Eat before you're hungry, because the crash usually arrives on the descent, right when you've stopped paying attention.
Dress for the coldest and wettest point of your day, not the parking lot. Three layers cover almost everything: a synthetic or merino base to move sweat, a fleece or light puffy for warmth, and a shell for wind and rain. Avoid cotton next to your skin — once it's wet, it stays wet and pulls heat out of you.
Pack a hat and thin gloves even in July if you're gaining real elevation. Summits and shaded north slopes run colder than the valley floor. Socks should be wool or synthetic, with a spare pair in a zip bag; dry feet prevent most blisters before they start. Wear footwear you've already broken in.
Phones die, screens crack, and GPS drifts in deep canyons. Carry a paper map of the area and a compass, and know how to orient the map and take a rough bearing. Then carry the phone as your second system — download offline map tiles for your route before you leave home, because the trailhead is often the last place you'll have service.
A small battery bank and cable keep that second system alive. Before you go, tell someone your route and turnaround time, and leave a note on the dashboard.
Build a small kit around the four things that actually happen: blisters, cuts, a rolled ankle, and a headache. Blister pads, gauze and tape, antiseptic wipes, an elastic wrap, tweezers, and any personal medication you might need. If you have allergies or a chronic condition, carry what you need and make sure your hiking partner knows where it is and how to use it. Ask a pharmacist or your doctor what belongs in your kit for your situation.
The repair kit is three things: a meter of duct tape wrapped around a trekking pole or bottle, a couple of meters of cord, and a small multi-tool. Together they'll fix a broken strap, a torn sole, or a split bladder hose.
A headlamp is the cheapest insurance you'll carry. A short afternoon hike turns into a dark walk out after one wrong turn or one slow companion, so check the batteries before you leave and pack a spare set. A whistle carries farther than your voice and costs almost nothing — three blasts is the standard signal for help.
Drop the puffy, keep the shell for afternoon thunderstorms. Add extra water, electrolytes, insect repellent, and a wide-brim hat. Start early and plan to be off exposed ridges before the heat peaks.
Shoulder season is where the layer system earns its keep. Add insulation back, along with gloves, a warm hat, and spare socks. A light traction device is worth carrying for icy patches in early spring or late fall. Daylight shrinks quickly, so the headlamp rides along even on hikes you expect to finish by four.
Bigger insulation, spare gloves, an insulated bottle, and a shelter that genuinely blocks wind. Add traction or flotation depending on conditions, plus extra food. Everything takes longer in snow, so plan a shorter route and an earlier start than you would in July.
You can trim for a two-hour walk on a trail you know well. Drop the lunch, trim the repair kit, leave the extra layer if the forecast is stable. Don't trim water, navigation, and a light source. Those three stay in the pack all year.
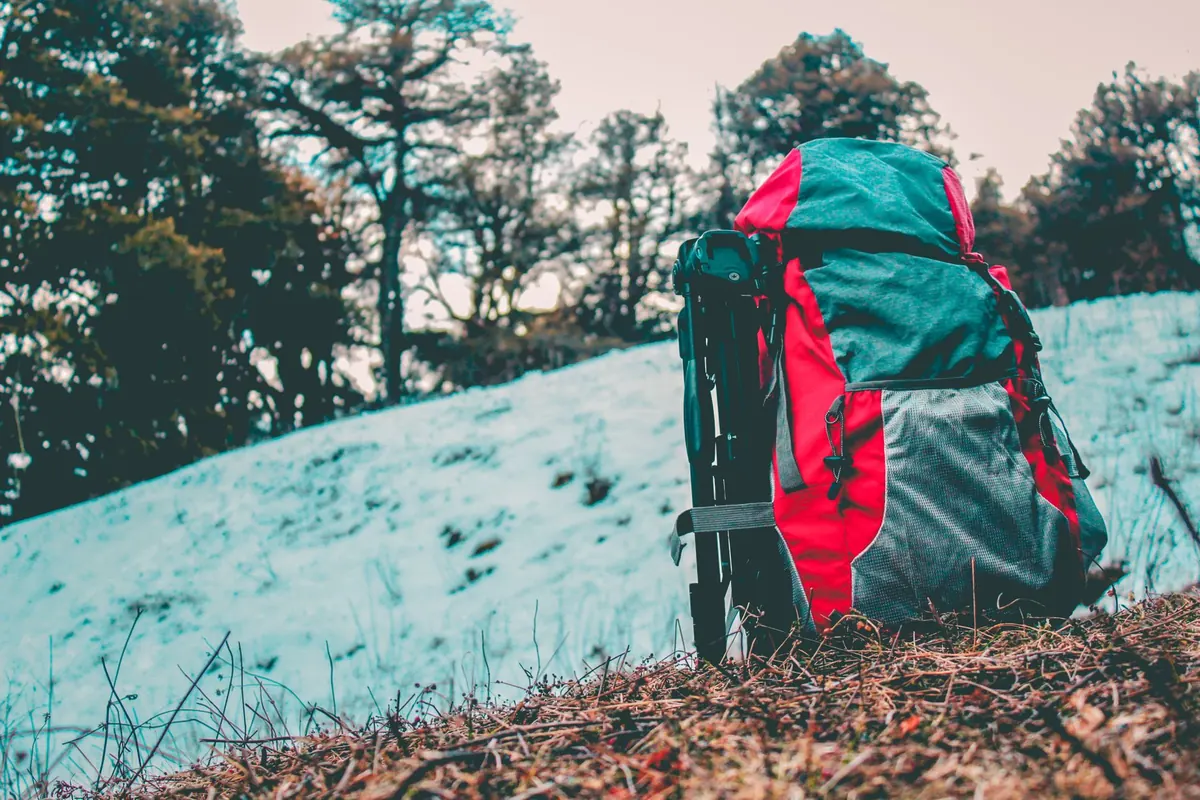
Heavier items ride high and close to your spine. Rain shell, sunscreen, and snacks go where you can reach them without taking the pack off — the lid, hip belt pockets, or the top of the main compartment. The first aid kit and headlamp get a permanent home so you never have to dig for them.
Do a five-minute check at the trailhead before you lock the car: water filled, headlamp working, map in the pack, someone knows your plan. When you get home, restock what you used instead of waiting until the next trip.
Print the list once and keep it in your gear bin or glove box. After a few seasons, mark what you never used and never missed, and cut it. You'll end up with a list that's genuinely yours.
Photo: Alex Andrews / Pexels