The trail was obvious in October. In February it is a smooth white slope, and the blazes you remember are somewhere under your boots or hidden behind frost. Winter hiking rarely fails because of one big mistake; it fails because the small confirmations you depend on — a worn tread, a painted mark, a cairn — quietly stop being there. Here is how to keep finding your way when the trail stops being visible.
Snow does not just cover the ground. It changes the ground level. A deep snowpack puts you a metre or more higher than the person who painted those blazes in July, so marks that sat at eye height are now at your knees, or below the surface altogether. Rocks that made useful landmarks become rounded lumps. A junction that was unmistakable turns into a blank opening between hemlocks.
Wind finishes the job. Drifts bury tread, frost heaves lift it, and snow creep bends or snaps the plastic markers on posts. Then there are tracks. Other people's ski and snowshoe trails are the most seductive thing on a winter map: they may follow your route for a kilometre and then turn off toward a cabin, a viewpoint, or a drainage you don't want. Treat any track you didn't make as a hint, not a decision.
Painted blazes are excellent confirmation and terrible primary navigation. They tell you where the trail is at that tree, in that moment. They say nothing about where it goes next, how far, or what happens when the following blaze is faded, snow-covered, or on the far side of a trunk you're passing on the wrong side. Many trails are blazed in one direction only, which becomes a problem the moment you turn around.
The practical rule: never walk from one blaze to another unless you can see the second before you leave the first. In fog or flat light, that distance shrinks to a few metres. When the next mark isn't visible, stop and switch methods — map, compass, terrain — rather than pressing on and correcting later.
Winter routes also aren't always summer routes. Groomed ski trails, plowed logging roads, and snowmobile corridors can cut across or replace the line on your map, and their signage follows its own logic.
Terrain association means knowing where you are from the shape of the land rather than from markings. It takes longer to learn and holds up far better in winter, because ridges, drainages, and slope angles survive snow.
A handrail is any linear feature you can follow: a creek, a ridge crest, a powerline cut, a lake shore, a road. If the trail parallels a creek on its north bank, you can afford to lose the tread, because the creek keeps you honest. A catching feature is what stops you if you overshoot — a river, a road, a large open lake, a cliff band. Before each leg, name both: the rail you'll follow and the feature that means you have gone too far.
Hitting a junction dead-on in poor visibility is luck. Aiming deliberately to one side of it is skill. If you need the trail junction at the base of the pass, take a bearing a few degrees to the left of it. When you reach the handrail, you'll know which way to turn, because you know which side you arrived on.
Trails take the easy line: valley bottoms, sidehill benches, saddles, the inside of a switchback. Contour lines tell you which of those you're standing in. Snow adds information of its own. South-facing slopes often hold shallower, sun-affected snow, while north-facing slopes stay deeper and colder. Wind-loaded slopes look smooth and pillowy; scoured ridges show bare rock and ice. That pattern tells you which side of a ridge you're on when the compass is the only thing you trust.
When you cannot see, distance becomes a calculation rather than an observation. You have two tools, and they correct each other.
Pace counting. Calibrate on a measured 100 metres, counting every second step or every time your left foot lands. Learn your number in trainers, then recount in boots, then in snowshoes in the snow you expect. It will not be the same number. Counting is hardest when you're tired, breaking trail, or talking, so save it for short legs where 100 metres genuinely matters.
Timing. A watch never gets distracted. Note the time you leave, then split the leg into chunks — fifteen or twenty minutes — so you notice a leg running long instead of only realising it at the end. Use rough planning figures and treat them as estimates: a well-packed trail might run three to four kilometres an hour, while breaking trail in deep snow can drop you toward one or two, with climbing costing extra on top. Compare those figures against your own summer times on the same route.
Write three things down before each leg: the time you left, the expected arrival time, and your turnaround time. The first two tell you where you should be. The third tells you when to stop being ambitious.
In a whiteout the horizon disappears and your sense of direction goes with it. Work in short, repeatable steps.
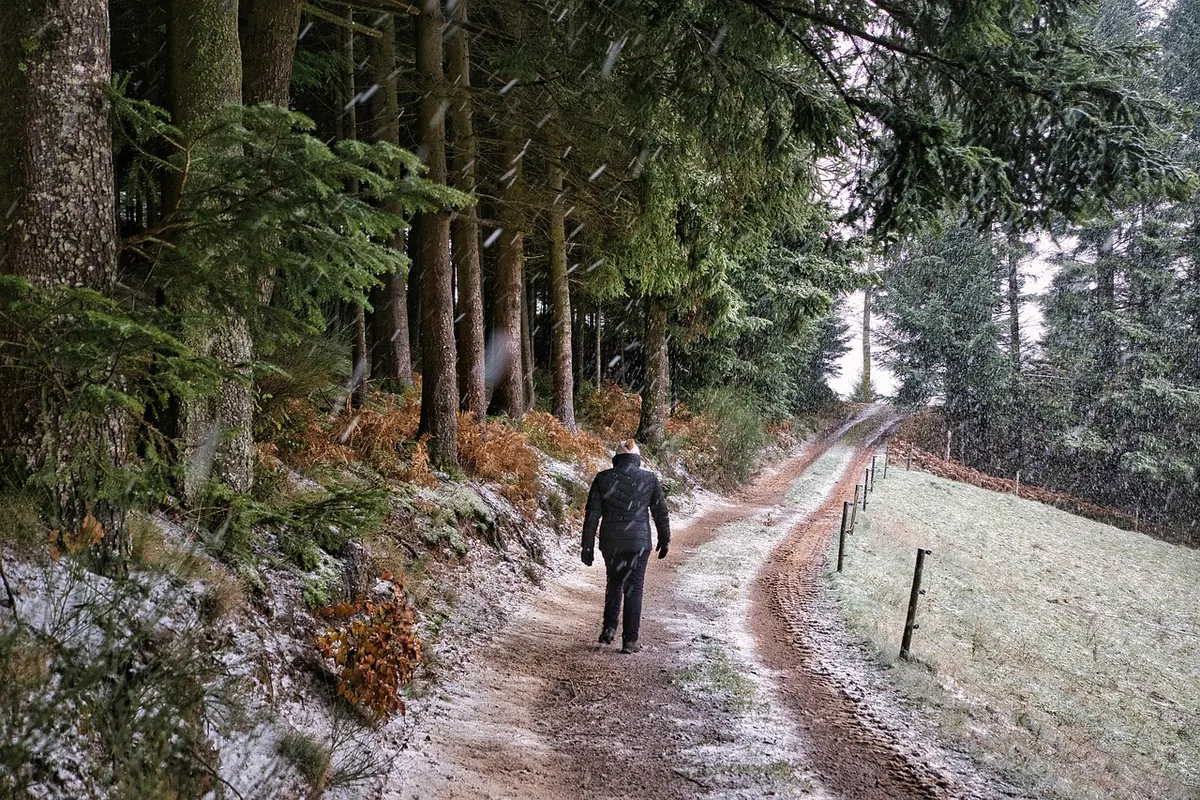
Photo: Nordseher / Pixabay